
The kitchen is often considered the heart of the home. It’s where we gather to cook, eat, and connect with family and friends. So, it’s no wonder that many homeowners are eager to give their kitchens a fresh and inviting look. One of the most cost-effective and impactful ways to do this is by embarking on a kitchen painting project. In this guide, we’ll walk you through everything you need to know to successfully transform your kitchen with a splash of color.
1. Planning Your Kitchen Painting Project
Before you pick up a paintbrush, it’s essential to plan your kitchen painting project thoroughly. Here are some key considerations:
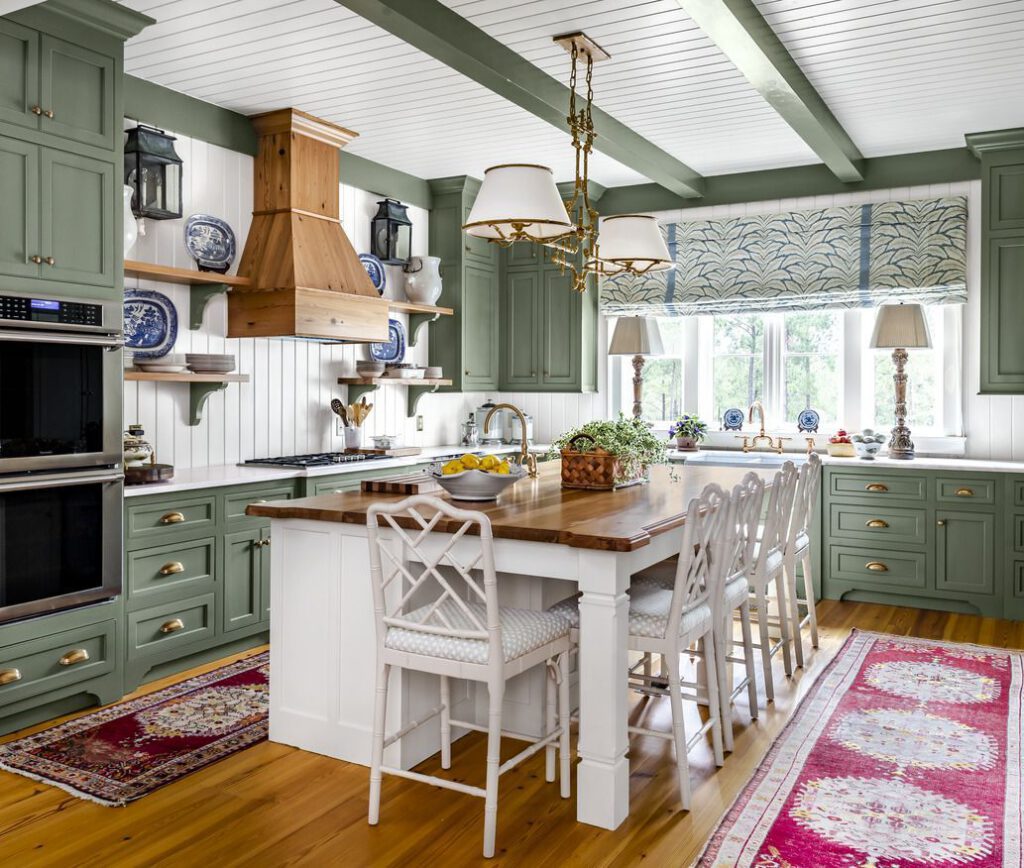
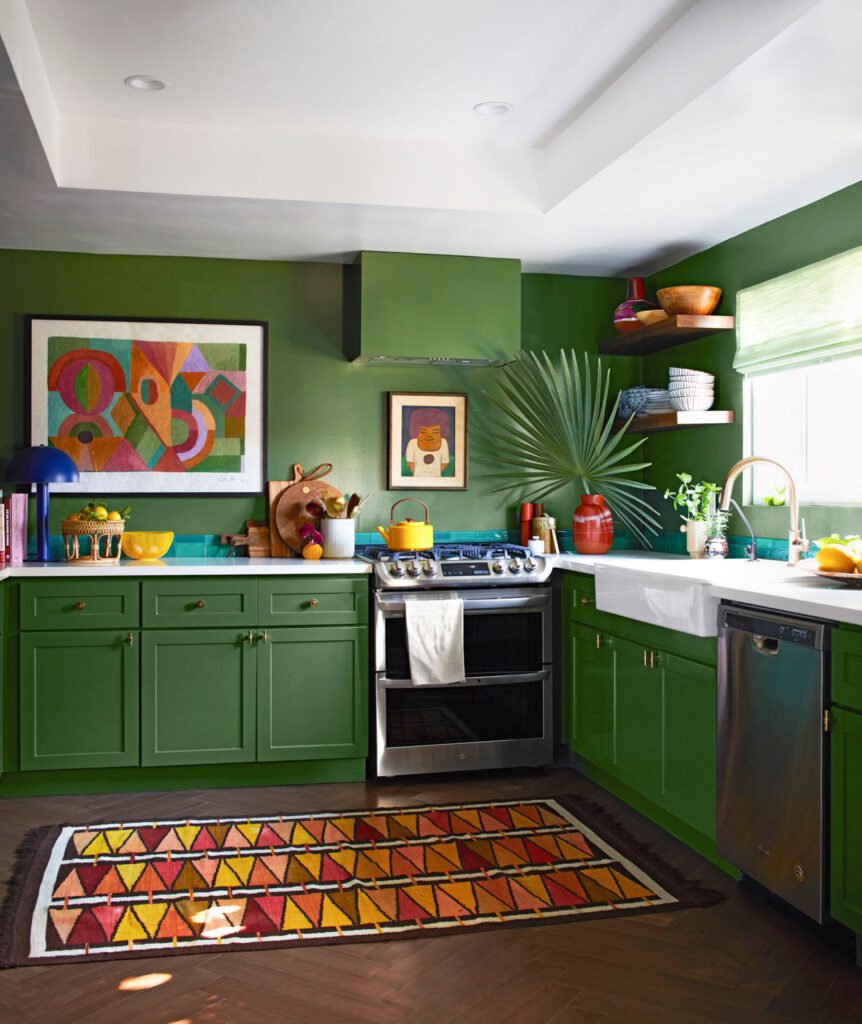
a. Choose the Right Color: Selecting the perfect color for your kitchen is crucial. Think about the mood you want to create – warm and cozy, bright and airy, or something in between? Neutral tones like beige, gray, and white are timeless choices, while bold colors can make a statement.
b. Gather Supplies: Make a list of all the supplies you’ll need, including paint, primer, brushes, rollers, painter’s tape, drop cloths, and any necessary cleaning supplies. Invest in quality tools for a smoother finish.
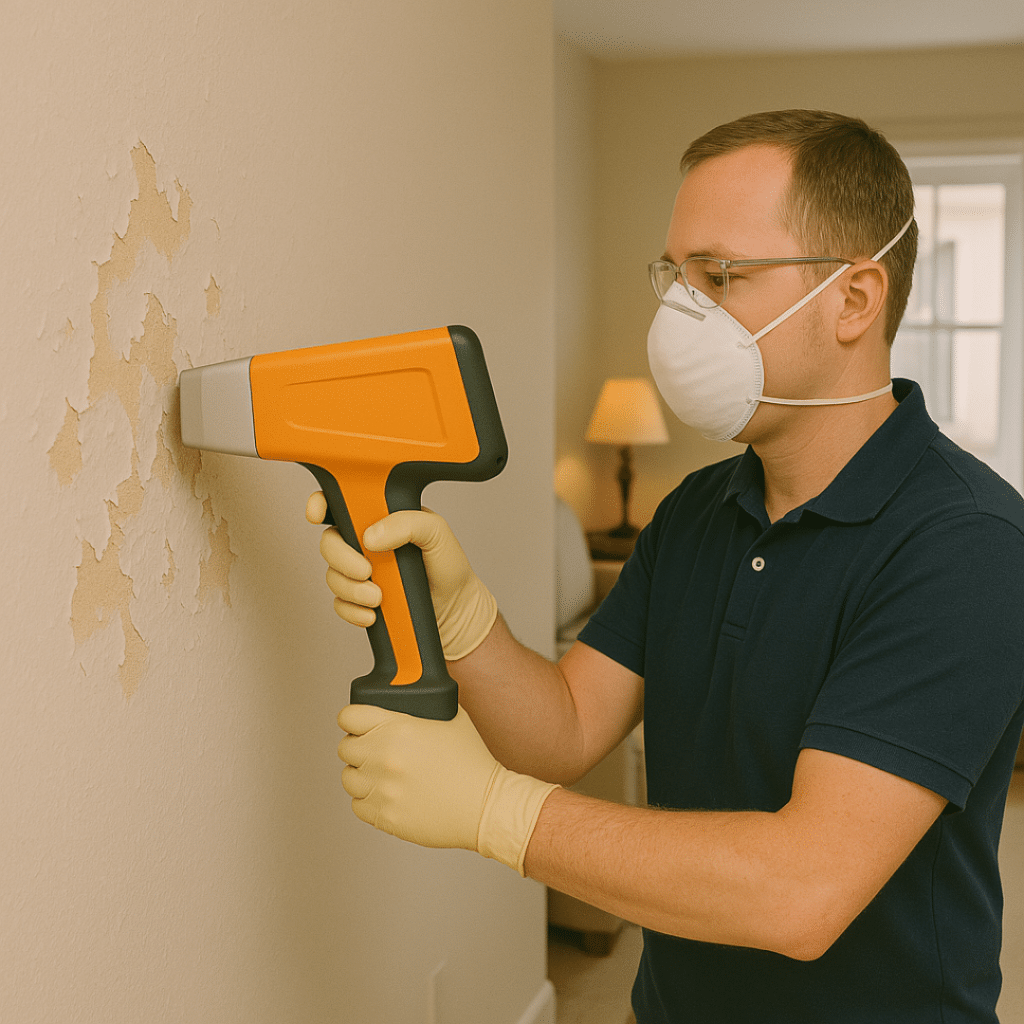
c. Prepare the Space: Clear out the kitchen as much as possible. Remove items from countertops, cabinets, and walls. Cover and protect appliances and fixtures. It’s also a good time to repair any wall imperfections.
2. Choosing the Right Paint
Selecting the right type of paint for your kitchen is crucial to ensure durability and easy maintenance. Consider the following factors:
a. Paint Finish: In kitchens, it’s best to choose a paint finish that can withstand moisture, grease, and frequent cleaning. Semi-gloss and satin finishes are excellent choices as they are durable and easy to wipe clean.
b. Quality Matters: Investing in high-quality paint will pay off in the long run. Quality paints often have better coverage, are more resistant to stains, and provide a more even finish.
3. Prepping and Painting
Now that you’ve done your planning and gathered your supplies, it’s time to get to work:
a. Prep Work: Start by cleaning the walls thoroughly to remove grease and dirt. Repair any holes or cracks and sand the surfaces for a smooth finish. Use painter’s tape to protect areas you don’t want to paint.
b. Prime the Surfaces: Applying a primer is essential, especially if you’re painting over a dark color or if your walls have stains. Primer helps the paint adhere better and ensures a more even finish.
c. Apply the Paint: Begin by cutting in around the edges with a brush and then use a roller for the larger wall areas. Apply two coats, allowing sufficient drying time between coats. Be patient and thorough for the best results.
4. Adding Personal Touches
Once the main painting is complete, you can add personal touches to make your kitchen unique:
a. Accent Walls: Consider creating an accent wall with a contrasting color or a bold wallpaper. This can add depth and character to your kitchen.
b. Cabinet Refresh: If your cabinets are looking tired, consider painting them as well. A fresh coat of paint can completely transform the look of your kitchen.
c. Decor and Accessories: Don’t forget to add decorative elements like artwork, new cabinet hardware, and colorful kitchen accessories to tie the room together.
Conclusion
Embarking on a kitchen painting project can breathe new life into your home’s most important gathering space. By carefully planning, choosing the right paint, and executing the project with care, you can create a kitchen that is not only beautiful but also a reflection of your personal style. So, grab your paintbrushes and get ready to transform your kitchen into a space that you and your family will love for years to come. Happy painting!