Proper preparation is essential for achieving a professional-looking interior painting project. One crucial step in the preparation process is masking your home to protect surfaces and ensure clean lines. This article will guide you through the steps of masking your home before interior painting, helping you achieve the best results.
Why Masking is Important
Protecting Surfaces
Masking is vital for protecting surfaces that you don’t want to paint, such as floors, trim, windows, and furniture. Proper masking prevents paint splatters and drips, saving you from time-consuming cleanup and potential damage.
Achieving Clean Lines
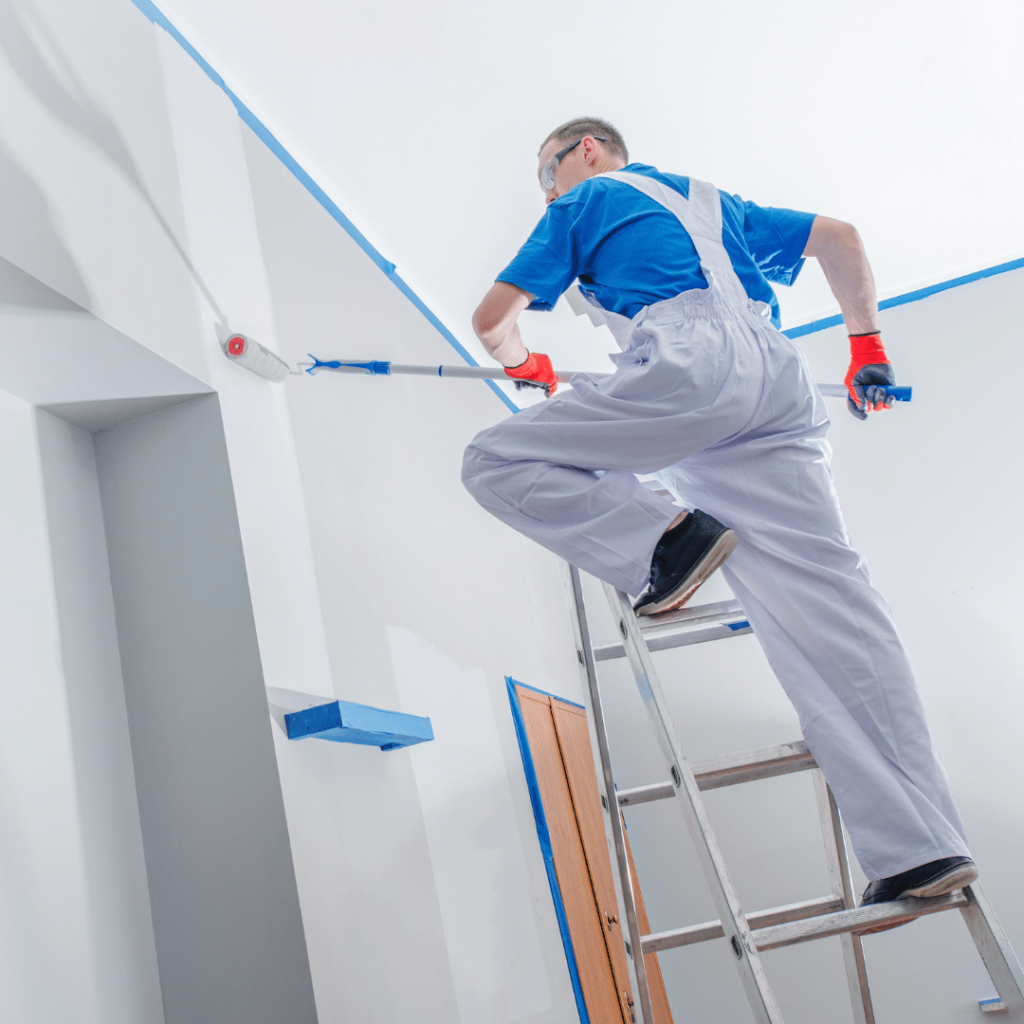
Using masking tape and other protective materials ensures that you achieve sharp, clean lines where different surfaces meet, such as between walls and ceilings or around trim. This attention to detail can significantly improve the overall appearance of your interior painting project.
Materials Needed for Masking
Masking Tape
High-quality painter’s tape is essential for masking. It adheres well to surfaces without leaving residue and is easy to remove.
Plastic Sheeting or Drop Cloths
Plastic sheeting and drop cloths protect large areas like floors, furniture, and fixtures from paint splatters and spills.
Masking Paper
Masking paper is useful for covering windows, doors, and other large surfaces. It is easy to cut to size and can be secured with masking tape.
Utility Knife and Scissors
Having a utility knife and scissors on hand makes it easy to cut tape, plastic sheeting, and masking paper to the desired lengths.
Steps to Mask Your Home Before Interior Painting
- Clear the Area
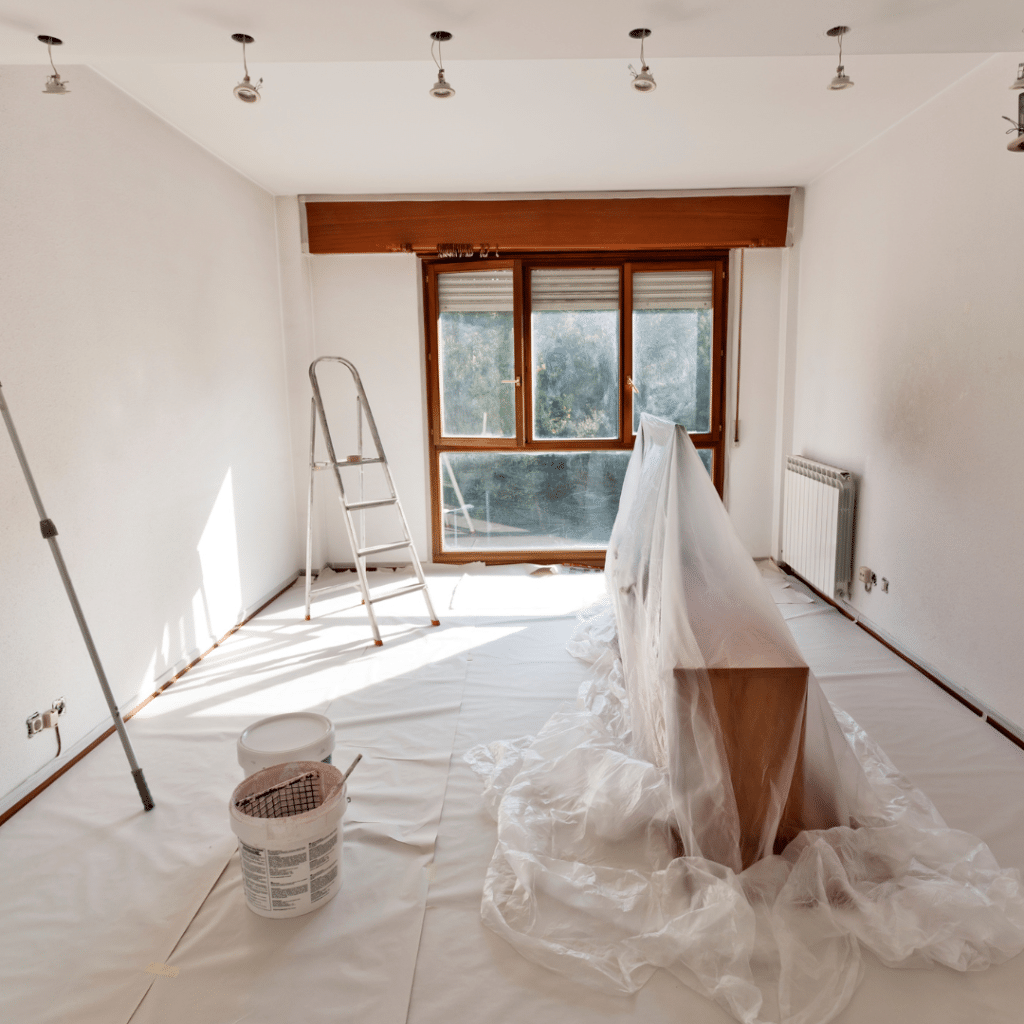
Start by moving furniture and other items away from the walls you plan to paint. If possible, remove furniture from the room entirely. This gives you more space to work and reduces the risk of accidental paint splatters on your belongings.
- Clean Surfaces
Ensure that the surfaces you’re masking are clean and dry. Dust, dirt, and grease can prevent tape from adhering properly, leading to paint seepage and uneven lines.
- Apply Masking Tape
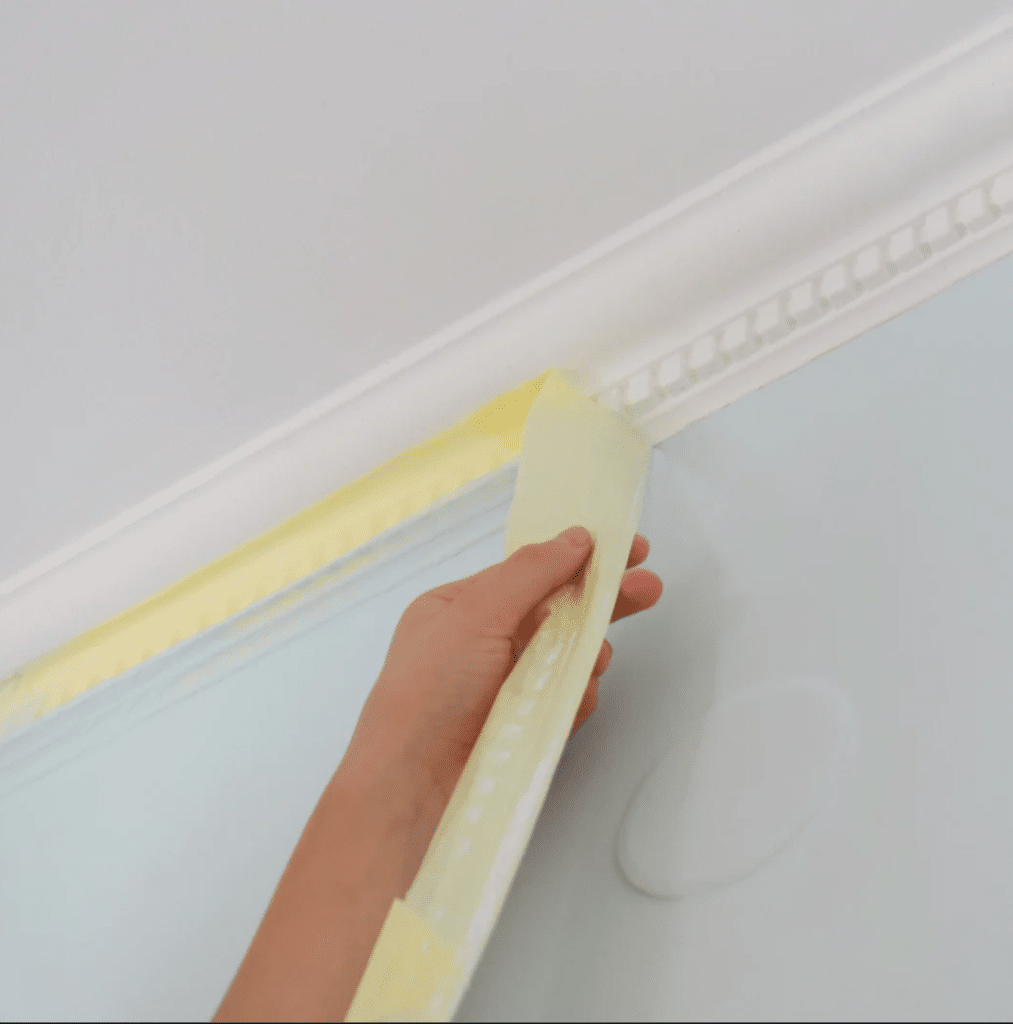
Apply masking tape along the edges of surfaces you want to protect, such as baseboards, window frames, and door trim. Press the tape firmly to ensure it sticks well and creates a seal to prevent paint from seeping underneath.
- Cover Floors and Furniture
Use plastic sheeting or drop cloths to cover floors and any remaining furniture in the room. Secure the edges of the plastic sheeting with tape to prevent it from moving while you paint.
- Mask Windows and Doors
Cut masking paper to fit the windows and doors, and secure it with masking tape. Make sure the edges are well-sealed to prevent paint from getting on the glass or door frames.
- Seal Light Fixtures and Electrical Outlets
Remove or cover light fixtures, switch plates, and electrical outlets with tape and plastic sheeting or paper. This protects them from paint splatters and makes it easier to paint around these areas.
Tips for Successful Masking
Use Quality Materials
Invest in high-quality painter’s tape and masking materials. Cheap tape can peel off paint or leave residue, while low-quality plastic sheeting can tear easily.
Take Your Time
Rushing through the masking process can lead to mistakes and uneven lines. Take your time to ensure everything is properly covered and sealed.
Remove Tape Carefully
After painting, wait for the paint to dry completely before removing the tape. Remove it slowly and at an angle to avoid peeling off any paint with the tape.
TECC Painting: Your Interior Painting Experts
At TECC Painting, we understand the importance of meticulous preparation for achieving a flawless paint job. Our professional painters are skilled in masking and other preparatory steps, ensuring that your interior painting project is completed with precision and care. With over 40 years of experience, we provide meticulous, prompt, and professional painting services in Colorado Springs.
FAQs on Interior Painting
Q: How long does the masking process take? A: The time required for masking depends on the size and complexity of the area being painted. On average, it can take a few hours to a day.
Q: Can I use any type of tape for masking? A: It’s best to use painter’s tape specifically designed for masking. It adheres well and removes cleanly without damaging surfaces.
Q: Should I mask the ceiling when painting walls? A: Yes, masking the ceiling helps achieve clean lines and prevents paint from getting on the ceiling, especially if you’re using different colors for walls and ceiling.
Q: Do professionals always mask before painting? A: Yes, professional painters always mask areas to protect surfaces and ensure clean lines, which is crucial for a high-quality finish.
For expert interior painting in Colorado Springs, trust TECC Painting to deliver exceptional results. Contact us today for a free quote and let us help you transform your home with our meticulous, prompt, and professional services.
